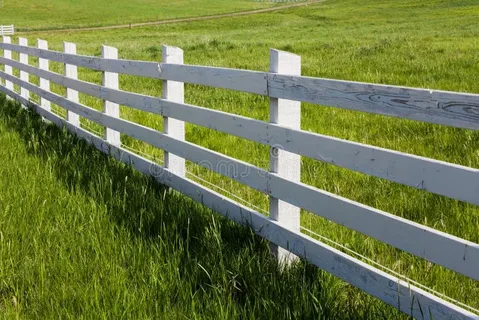
When it comes to enhancing the appearance and longevity of your fence, fence post caps are a small but essential detail that should not be overlooked. These accessories serve multiple purposes, from protecting the integrity of your posts to adding a decorative touch. In this article, we’ll explore the function, various styles, and practical installation tips for fence post caps.
What Are Fence Post Caps?
Fence post caps are protective coverings placed on the top of fence posts. They come in a wide range of materials including wood, metal, vinyl, and plastic. While often appreciated for their aesthetic value, their primary function is to prevent water from seeping into the end grain of wooden posts, which can lead to rot, splitting, and mold over time.
Function of Fence Post Caps
- Protection from the Elements
One of the main roles of fence post caps is to shield the post tops from weather damage. Water infiltration is a major concern for wooden posts, and caps provide a physical barrier against rain and snow. - Pest Prevention
By sealing the top of the posts, caps can also deter insects like termites and carpenter ants that thrive in damp wood. - Post Longevity
With added protection, your fence posts will last longer and require less maintenance, saving you money in the long run.
Style Options for Fence Post Caps
Fence post caps come in a wide variety of designs to complement different fence types and architectural styles. Some popular options include:
- Flat Top Caps – Simple and modern, ideal for minimalist designs.
- Ball Top or Acorn Caps – Decorative choices that suit traditional or ornamental fences.
- Solar Light Caps – Functional and attractive, these caps include small solar panels that power LED lights for nighttime illumination.
Caps are also available in finishes like black powder-coated metal, natural wood, copper, and stainless steel, allowing you to customize the look of your fence.
Installation Tips
Installing fence post caps is generally straightforward, but a few tips can help ensure a secure and lasting fit:
- Clean the Post Tops
Before installing the caps, make sure the top of each post is clean and dry to ensure proper adhesion or fitting. - Choose the Right Size
Measure the dimensions of your posts carefully. Most caps are designed to fit standard sizes (e.g., 4×4 or 6×6 inches), but verifying the measurements prevents loose or ill-fitting caps. - Secure with Screws or Adhesive
Depending on the material and design, you can attach the caps using exterior-grade screws or weather-resistant adhesive. Screws are typically more secure for areas prone to high winds. - Regular Maintenance
Check your caps periodically for signs of wear or damage. Repainting or re-coating metal or wood caps can extend their life and keep them looking fresh.
Final Thoughts
Fence post caps may seem like a minor detail, but they offer significant functional and aesthetic benefits for your fencing. Whether you’re aiming to extend the life of your posts, add a touch of style, or improve your yard’s nighttime visibility, these accessories are a smart investment. By choosing the right style and following proper installation practices, you’ll enhance both the durability and visual appeal of your fence.

